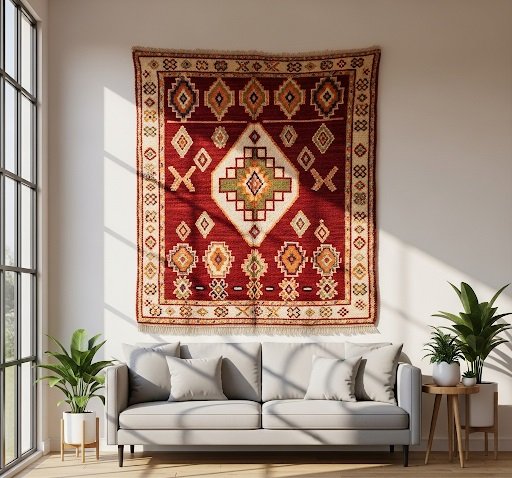
When we think about decorating our walls, our minds typically jump to paintings, prints, or photographs. But what if one of the most impactful, texture-rich, and unique pieces of wall art was already under your feet? Hanging a rug on the wall is a time-honored tradition that is making a major comeback in modern interior design, and for good reason. It’s a bold move that can introduce color, pattern, and a soft, sound-absorbing quality that no canvas can match.
This step-by-step guide will show you how to transform a beautiful area rug from a floor covering into a stunning vertical masterpiece.
Why Hang a Rug? The Art of Vertical Textiles
Before we get to the "how," let's talk about the "why." Hanging a rug on the wall offers several unique benefits:
-
Unmatched Texture: A rug introduces a level of texture and depth that framed art simply can't replicate. It adds a cozy, tactile element that can soften a room's acoustics and make it feel more inviting.
-
Scale and Impact: Rugs, especially larger ones, can cover a significant amount of wall space, creating a dramatic focal point that instantly draws the eye. They are a perfect solution for large, blank walls that are difficult to fill.
-
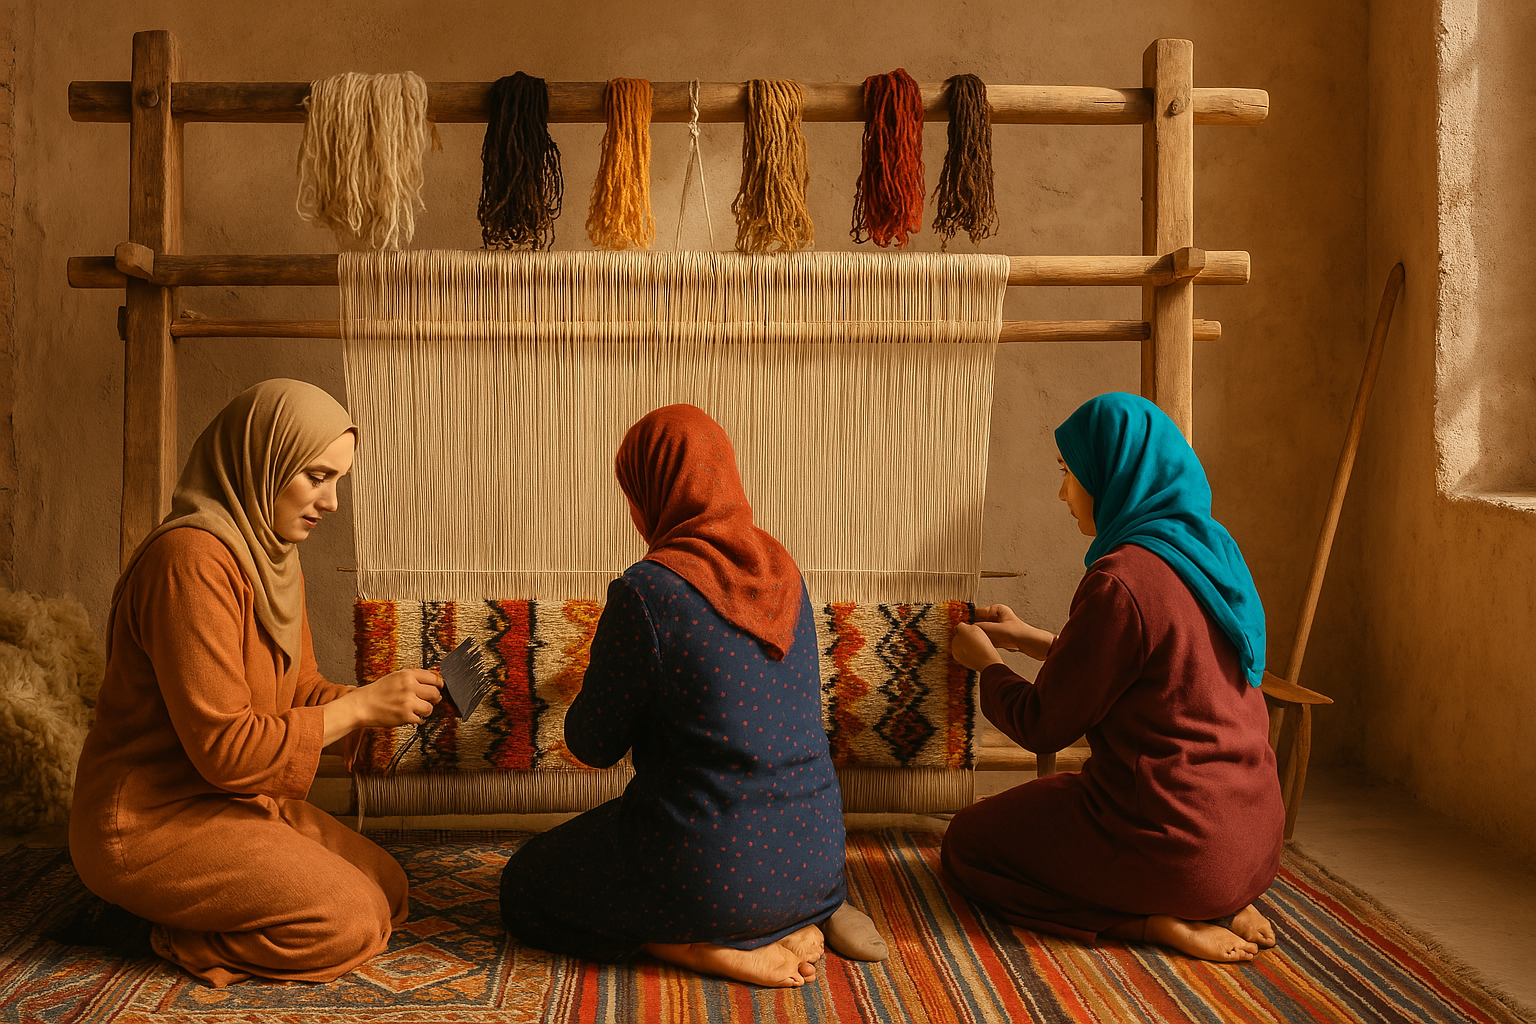
A World of Design: The design possibilities are endless. From vintage Moroccan carpets to modern geometric designs, there is a rug to match every conceivable style.
-
Preservation: Hanging a beautiful or delicate rug protects it from the wear and tear of foot traffic, preserving its beauty for years to come.

Choosing the Right Rug for Your Wall
Not every rug is destined for the wall, but many are. The key is to think of it as you would any other piece of art.
-
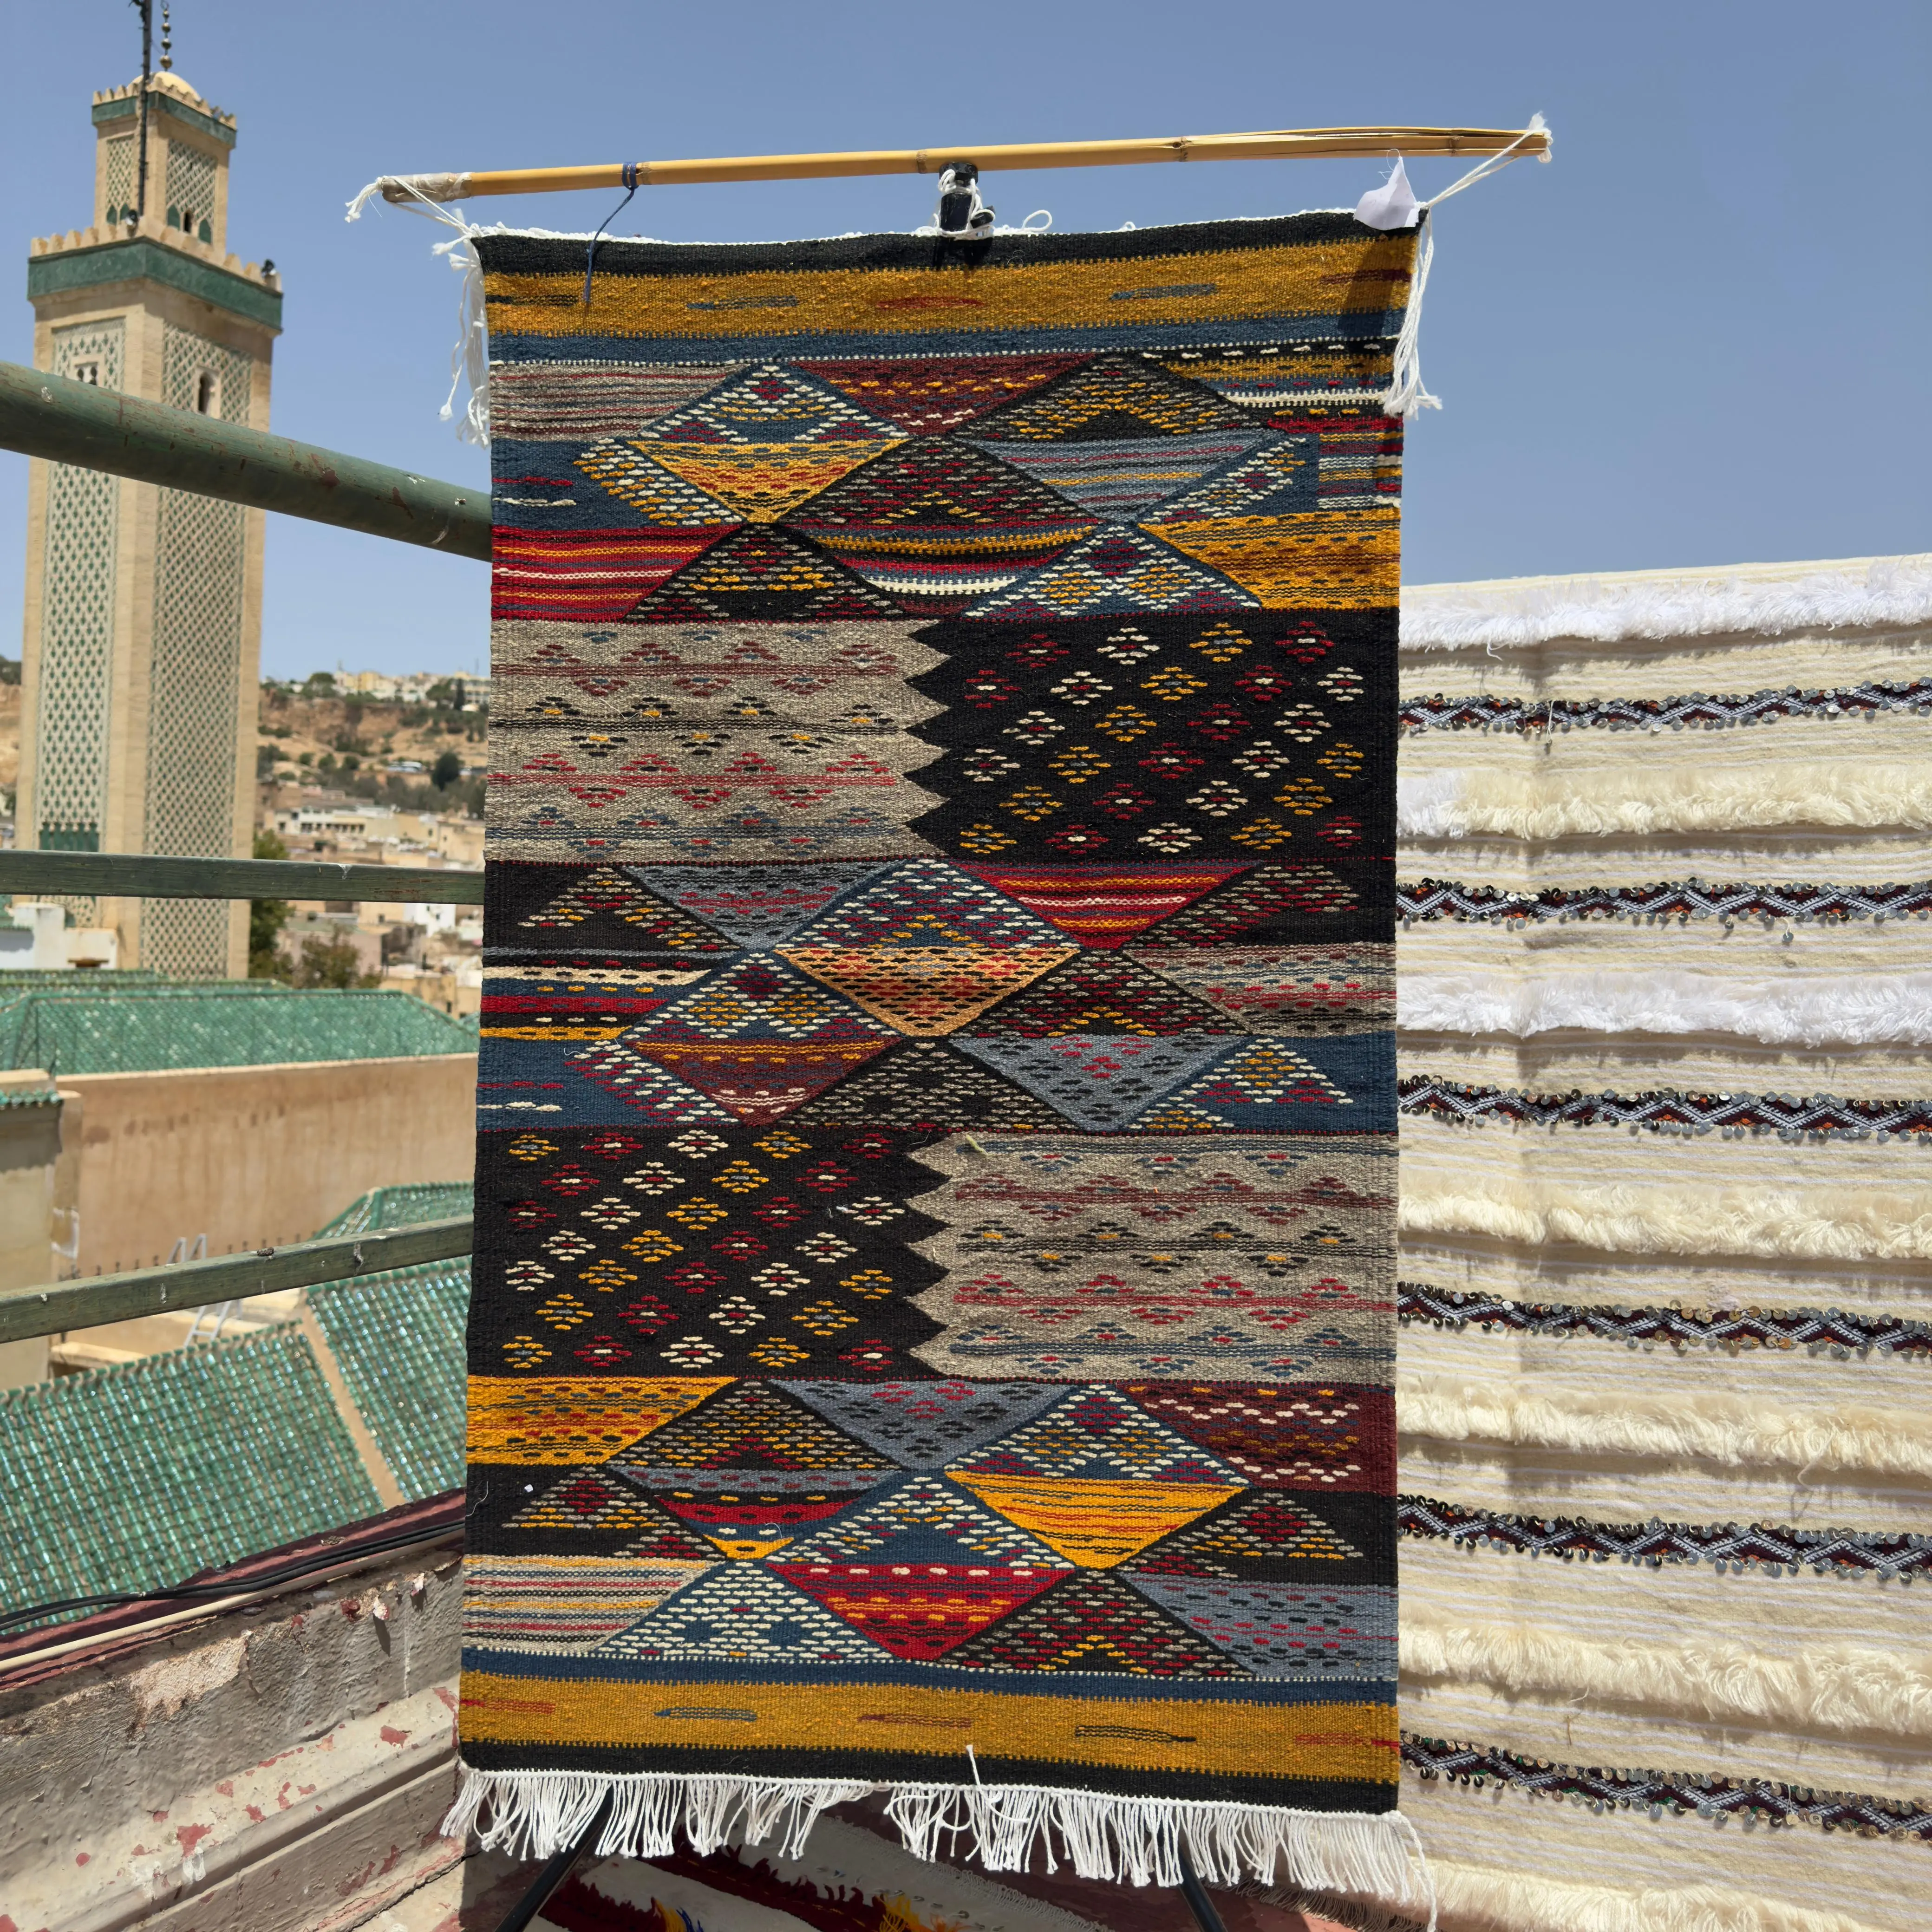
Weight Matters: A very heavy, thick-pile rug can be challenging to hang securely. Lighter-weight options like flatweaves, kilims, or dhurries are ideal candidates.
-
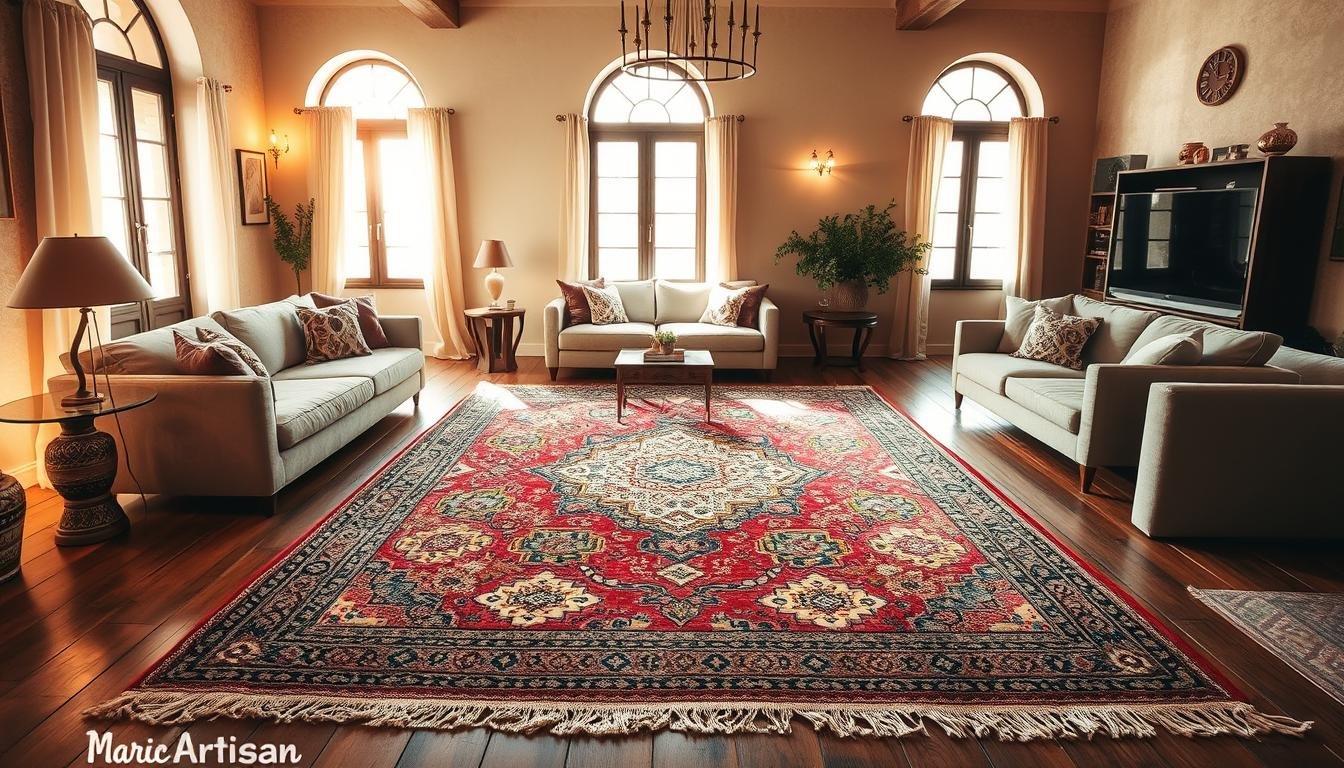
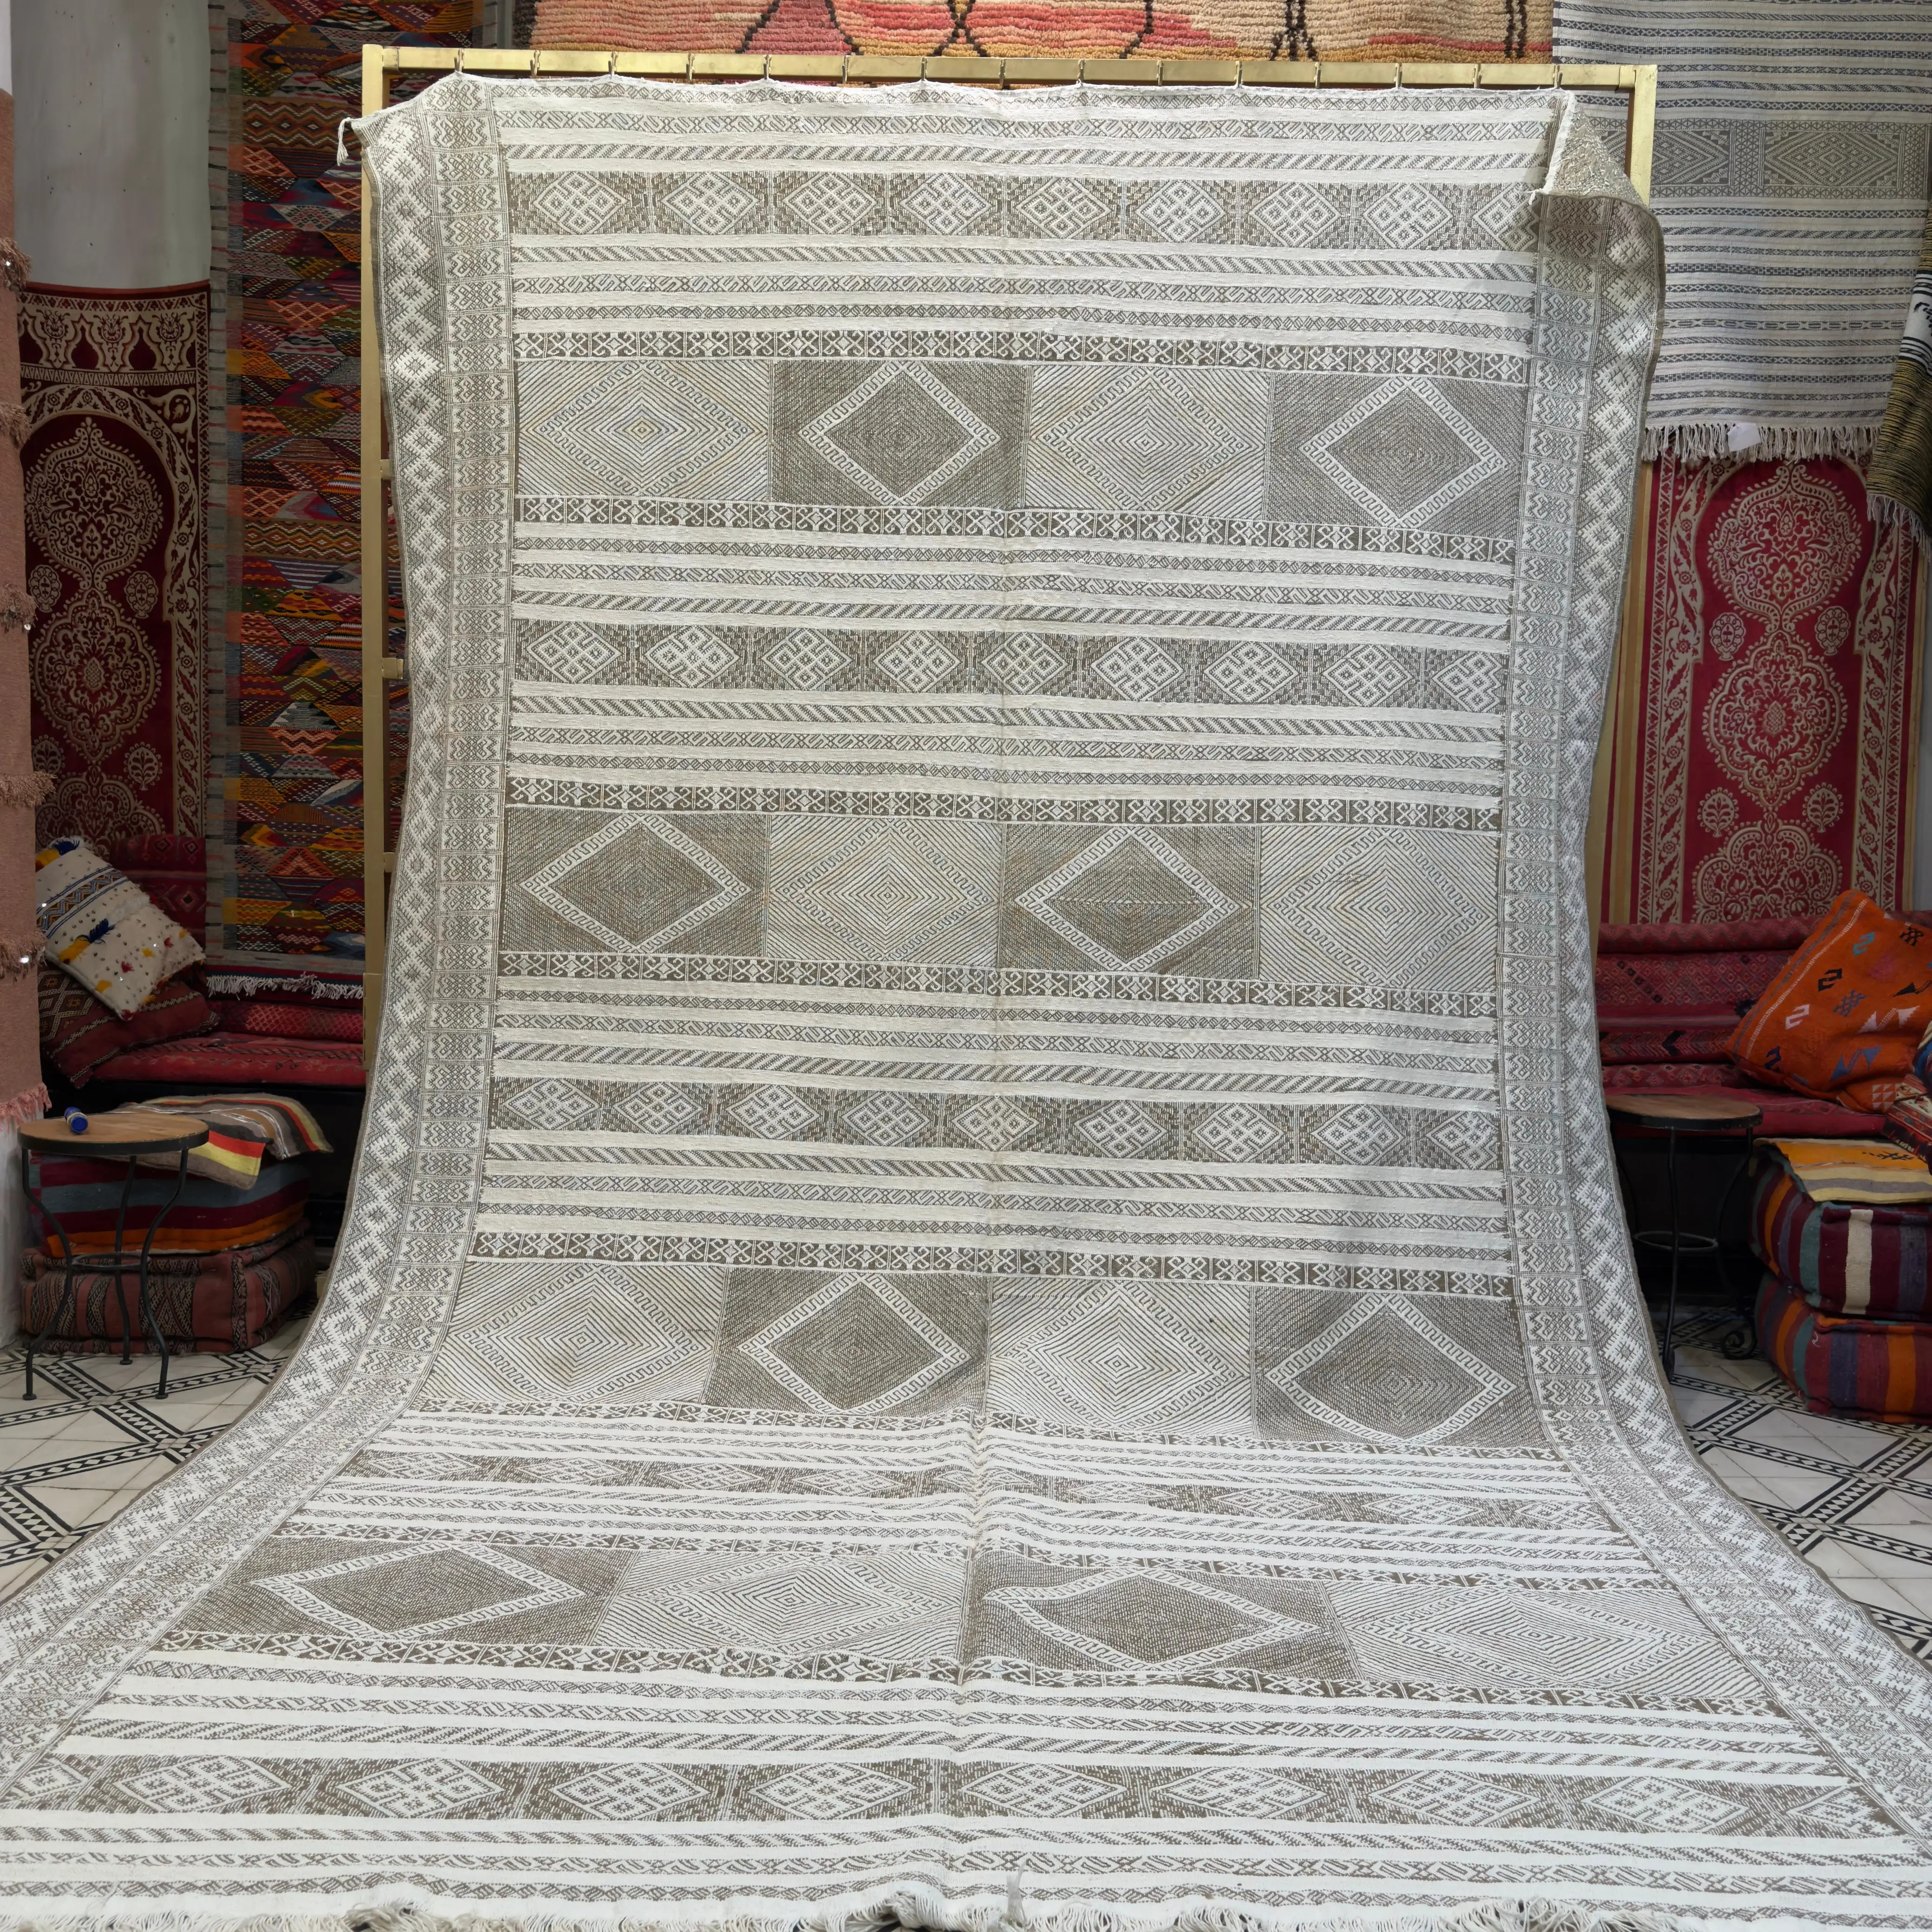
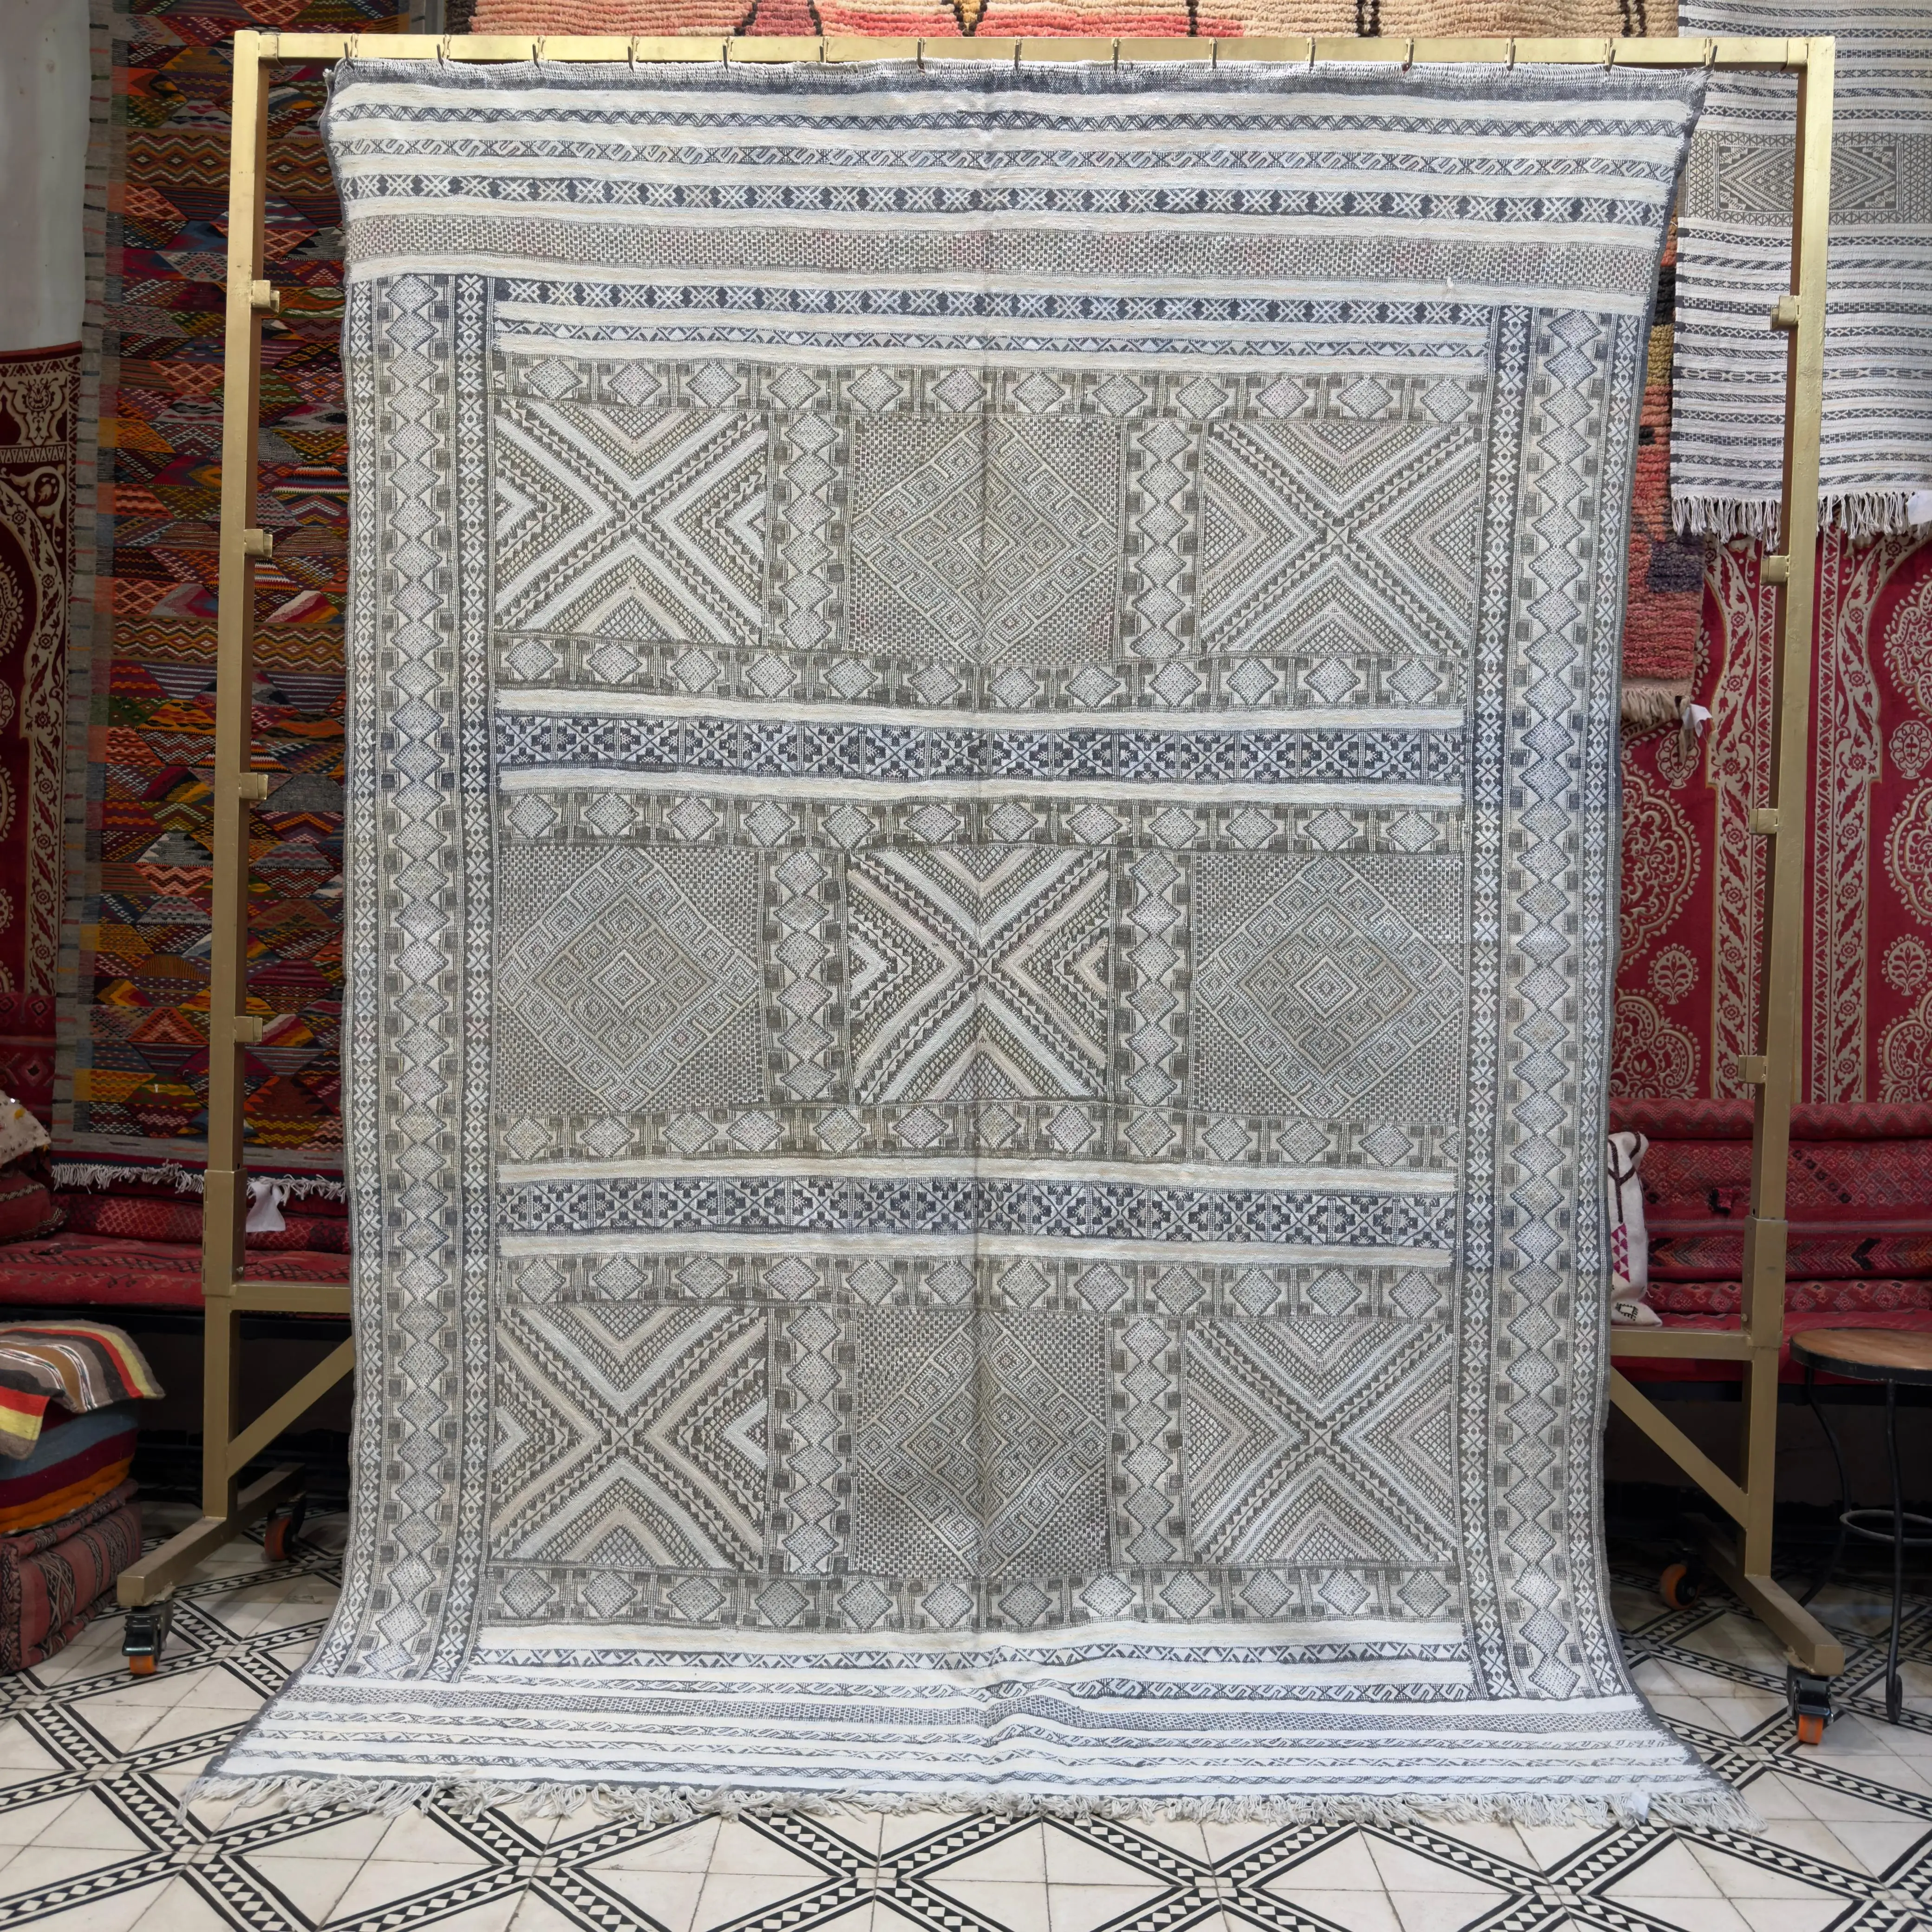
Consider the Size: The rug should be proportional to the wall and the furniture around it. For a statement piece above a queen-sized bed or a standard sofa, 5x7 area rugs are often a perfect fit. They are large enough to have a significant presence without overwhelming the space.
-
Shape Up: Don't limit yourself to rectangles. Round area rugs can create a stunning, unconventional focal point, especially on a square wall or in a space with modern, clean lines. The soft curves provide a beautiful contrast to the hard angles of a room.
-
Color Your World: Use the rug to introduce or amplify your room's color scheme. For a touch of nature and tranquility, a green area rug can be a breathtaking choice, bringing organic color and life to your walls.
The Step-by-Step Hanging Guide
Hanging a rug securely is crucial. While there are several methods, using a wooden batten or slat is one of the most reliable and straightforward for most rugs.
What You'll Need:
-
A flat wooden slat (like a 1x3 board), cut slightly shorter than the width of your rug.
-
A drill
-
Screws and wall anchors appropriate for your wall type (drywall, plaster, brick)
-
A level
-
A measuring tape
-
Heavy-duty Velcro strips OR a staple gun with staples
Step 1: Prepare the Rug (Velcro Method)
This is the least invasive method for the rug itself.
-
Adhere the "hook" (rough) side of the heavy-duty Velcro strip along the length of your wooden slat.
-
Adhere the "loop" (soft) side of the Velcro strip across the top back of your rug. Press firmly to ensure a strong bond. For extra security on heavier rugs, you can add a few simple stitches by hand to secure the Velcro strip to the rug's backing.
Step 1: Prepare the Rug (Casing/Sleeve Method - More Secure)
-
Cut a piece of sturdy fabric (like cotton canvas or denim) that is about 5 inches wide and the same length as your wooden slat.
-
Fold the fabric in half lengthwise and sew the long edge to create a sleeve.
-
Hand-sew this sleeve securely to the top back of your rug, just below the fringe or finished edge. This will create a channel to slide the wood slat through.
Step 2: Mount the Slat to the Wall
-
Decide where you want to hang your rug. Use your measuring tape and level to mark a perfectly straight line on the wall where the top of the rug will be.
-
Hold your wooden slat against the wall, aligned with your marks.
-
Drill pilot holes through the slat and into the wall.
-
Insert your wall anchors into the wall, then securely screw the wooden slat into place.
Step 3: Hang Your Masterpiece
-
For the Velcro Method: Carefully lift the rug and press the Velcro strip on the rug against the corresponding strip on the wall-mounted slat. Work from one end to the other, ensuring a secure connection along the entire width.
-
For the Casing Method: Simply slide the wooden slat on the wall through the fabric sleeve you sewed onto the back of the rug. The rug will hang neatly from this hidden support.
Conclusion: Elevate Your Decor
Hanging an area rug is a transformative design choice that brings unparalleled texture, color, and personality to your walls. Whether you choose a classic rectangular 5x7 area rug, a playful round area rug, or a calming green area rug, by following these simple steps, you can confidently and securely display your chosen textile, turning it from a simple floor covering into a true work of art.
Lorsque nous pensons à décorer nos murs, notre esprit se tourne généralement vers les peintures, les gravures ou les photographies. Mais si l'une des œuvres d'art murales les plus percutantes, riches en texture et uniques se trouvait déjà sous vos pieds ? Accrocher un tapis au mur est une tradition séculaire qui fait un grand retour dans le design d'intérieur moderne, et pour cause. C'est un geste audacieux qui peut introduire de la couleur, des motifs et une qualité douce et insonorisante qu'aucune toile ne peut égaler.
Ce guide étape par étape vous montrera comment transformer un magnifique tapis d'une simple couverture de sol en un chef-d'œuvre vertical éblouissant.
Pourquoi accrocher un tapis ? L'art des textiles verticaux
Avant de passer au « comment », parlons du « pourquoi ». Accrocher un tapis au mur offre plusieurs avantages uniques :
-
Texture inégalée : Un tapis introduit un niveau de texture et de profondeur que l'art encadré ne peut tout simplement pas reproduire. Il ajoute un élément chaleureux et tactile qui peut adoucir l'acoustique d'une pièce et la rendre plus accueillante.
-
Échelle et impact : Les tapis, en particulier les plus grands, peuvent couvrir une surface murale importante, créant un point focal spectaculaire qui attire instantanément le regard. Ils sont une solution parfaite pour les grands murs vides difficiles à remplir.
-
Un monde de design : Les possibilités de design sont infinies. Des tapis marocains vintage aux motifs géométriques modernes, il existe un tapis pour tous les styles imaginables.
-
Préservation : Accrocher un tapis magnifique ou délicat le protège de l'usure du passage, préservant ainsi sa beauté pour les années à venir.
Choisir le bon tapis pour votre mur
Tous les tapis ne sont pas destinés au mur, mais beaucoup le sont. La clé est d'y penser comme vous le feriez pour n'importe quelle autre œuvre d'art.
-
Le poids compte : Un tapis très lourd et à poils longs peut être difficile à accrocher en toute sécurité. Les options plus légères comme les tissages plats, les kilims ou les dhurries sont des candidats idéaux.
-
Considérez la taille : Le tapis doit être proportionnel au mur et aux meubles qui l'entourent. Pour une pièce maîtresse au-dessus d'un lit queen-size ou d'un canapé standard, les tapis 5x7 sont souvent parfaits. Ils sont assez grands pour avoir une présence significative sans submerger l'espace.
-
Variez les formes : Ne vous limitez pas aux rectangles. Les tapis ronds peuvent créer un point focal étonnant et non conventionnel, en particulier sur un mur carré ou dans un espace aux lignes modernes et épurées. Les courbes douces offrent un beau contraste avec les angles vifs d'une pièce.
-
Colorez votre monde : Utilisez le tapis pour introduire ou amplifier la palette de couleurs de votre pièce. Pour une touche de nature et de tranquillité, un tapis vert peut être un choix à couper le souffle, apportant une couleur et une vie organiques à vos murs.
Le guide d'accrochage étape par étape
Accrocher un tapis en toute sécurité est crucial. Bien qu'il existe plusieurs méthodes, l'utilisation d'une latte ou d'une baguette en bois est l'une des plus fiables et des plus simples pour la plupart des tapis.
Ce dont vous aurez besoin :
-
Une latte de bois plate (comme une planche de 1x3), coupée légèrement plus courte que la largeur de votre tapis.
-
Une perceuse
-
Des vis et des chevilles adaptées à votre type de mur (plaque de plâtre, plâtre, brique)
-
Un niveau
-
Un mètre ruban
-
Des bandes Velcro robustes OU une agrafeuse avec des agrafes
Étape 1 : Préparez le tapis (Méthode Velcro)
C'est la méthode la moins invasive pour le tapis lui-même.
-
Collez le côté « crochet » (rugueux) de la bande Velcro robuste sur la longueur de votre latte de bois.
-
Collez le côté « boucle » (doux) de la bande Velcro sur le haut du dos de votre tapis. Appuyez fermement pour assurer une bonne adhérence. Pour plus de sécurité sur les tapis plus lourds, vous pouvez ajouter quelques points simples à la main pour fixer la bande Velcro au dos du tapis.
Étape 1 : Préparez le tapis (Méthode du manchon/fourreau - Plus sécurisée)
-
Coupez un morceau de tissu solide (comme de la toile de coton ou du denim) d'environ 12 cm (5 pouces) de large et de la même longueur que votre latte de bois.
-
Pliez le tissu en deux dans le sens de la longueur et cousez le grand côté pour créer un manchon.
-
Cousez solidement ce manchon à la main sur le haut du dos de votre tapis, juste en dessous de la frange ou du bord fini. Cela créera un canal pour y glisser la latte de bois.
Étape 2 : Montez la latte au mur
-
Décidez où vous voulez accrocher votre tapis. Utilisez votre mètre ruban et votre niveau pour marquer une ligne parfaitement droite sur le mur où se trouvera le haut du tapis.
-
Tenez votre latte de bois contre le mur, alignée sur vos marques.
-
Percez des trous pilotes à travers la latte et dans le mur.
-
Insérez vos chevilles dans le mur, puis vissez solidement la latte de bois en place.
Étape 3 : Accrochez votre chef-d'œuvre
-
Pour la méthode Velcro : Soulevez délicatement le tapis et pressez la bande Velcro du tapis contre la bande correspondante sur la latte murale. Travaillez d'un bout à l'autre, en assurant une connexion sécurisée sur toute la largeur.
-
Pour la méthode du manchon : Glissez simplement la latte de bois fixée au mur dans le manchon en tissu que vous avez cousu au dos du tapis. Le tapis pendra proprement de ce support caché.
Conclusion : Rehaussez votre décor
Accrocher un tapis est un choix de design transformateur qui apporte une texture, une couleur и une personnalité inégalées à vos murs. Que vous choisissiez un tapis 5x7 rectangulaire classique, un tapis rond ludique ou un tapis vert apaisant, en suivant ces étapes simples, vous pouvez afficher avec confiance et en toute sécurité le textile de votre choix, le transformant d'un simple revêtement de sol en une véritable œuvre d'art.
Cuando pensamos en decorar nuestras paredes, nuestra mente suele saltar a pinturas, grabados o fotografías. Pero, ¿y si una de las obras de arte de pared más impactantes, ricas en textura y únicas ya estuviera bajo tus pies? Colgar una alfombra en la pared es una tradición milenaria que está resurgiendo con fuerza en el diseño de interiores moderno, y con razón. Es un movimiento audaz que puede introducir color, patrones y una calidad suave y de absorción de sonido que ningún lienzo puede igualar.
Esta guía paso a paso te mostrará cómo transformar una hermosa alfombra de un revestimiento de suelo a una impresionante obra maestra vertical.
¿Por qué colgar una alfombra? El arte de los textiles verticales
Antes de llegar al "cómo", hablemos del "porqué". Colgar una alfombra en la pared ofrece varias ventajas únicas:
-
Textura inigualable: Una alfombra introduce un nivel de textura y profundidad que el arte enmarcado simplemente no puede replicar. Añade un elemento acogedor y táctil que puede suavizar la acústica de una habitación y hacerla sentir más acogedora.
-
Escala e impacto: Las alfombras, especialmente las más grandes, pueden cubrir una cantidad significativa de espacio en la pared, creando un punto focal dramático que atrae la vista al instante. Son una solución perfecta para paredes grandes y vacías que son difíciles de llenar.
-
Un mundo de diseño: Las posibilidades de diseño son infinitas. Desde alfombras marroquíes vintage hasta diseños geométricos modernos, hay una alfombra para cada estilo imaginable.
-
Preservación: Colgar una alfombra hermosa o delicada la protege del desgaste del tráfico peatonal, preservando su belleza durante años.
Elegir la alfombra adecuada para tu pared
No todas las alfombras están destinadas a la pared, pero muchas sí lo están. La clave es pensar en ella como lo harías con cualquier otra obra de arte.
-
El peso importa: Una alfombra muy pesada y de pelo grueso puede ser difícil de colgar de forma segura. Las opciones más ligeras como los tejidos planos, los kilims o los dhurries son candidatos ideales.
-
Considera el tamaño: La alfombra debe ser proporcional a la pared y a los muebles que la rodean. Para una pieza central sobre una cama de matrimonio o un sofá estándar, las alfombras de 5x7 suelen ser un ajuste perfecto. Son lo suficientemente grandes como para tener una presencia significativa sin abrumar el espacio.
-
Varía las formas: No te limites a los rectángulos. Las alfombras redondas pueden crear un punto focal impresionante y poco convencional, especialmente en una pared cuadrada o en un espacio con líneas modernas y limpias. Las curvas suaves proporcionan un hermoso contraste con los ángulos duros de una habitación.
-
Colorea tu mundo: Usa la alfombra para introducir o amplificar la paleta de colores de tu habitación. Para un toque de naturaleza y tranquilidad, una alfombra verde puede ser una elección impresionante, aportando color y vida orgánicos a tus paredes.
La guía de colgado paso a paso
Colgar una alfombra de forma segura es crucial. Aunque existen varios métodos, usar un listón o una lama de madera es uno de los más fiables y sencillos para la mayoría de las alfombras.
Lo que necesitarás:
-
Un listón de madera plano (como una tabla de 1x3), cortado un poco más corto que el ancho de tu alfombra.
-
Un taladro
-
Tornillos y anclajes de pared apropiados para tu tipo de pared (yeso, pladur, ladrillo)
-
Un nivel
-
Una cinta métrica
-
Tiras de velcro de alta resistencia O una grapadora con grapas
Paso 1: Prepara la alfombra (Método del velcro)
Este es el método menos invasivo para la propia alfombra.
-
Adhiere el lado del "gancho" (áspero) de la tira de velcro de alta resistencia a lo largo de tu listón de madera.
-
Adhiere el lado del "bucle" (suave) de la tira de velcro en la parte superior trasera de tu alfombra. Presiona firmemente para asegurar una unión fuerte. Para mayor seguridad en alfombras más pesadas, puedes añadir algunas puntadas sencillas a mano para asegurar la tira de velcro al reverso de la alfombra.
Paso 1: Prepara la alfombra (Método de la funda/manga - Más seguro)
-
Corta un trozo de tela resistente (como lona de algodón o denim) de unos 12 cm (5 pulgadas) de ancho y de la misma longitud que tu listón de madera.
-
Dobla la tela por la mitad a lo largo y cose el borde largo para crear una funda.
-
Cose esta funda firmemente a mano en la parte superior trasera de tu alfombra, justo debajo del fleco o del borde acabado. Esto creará un canal para deslizar el listón de madera.
Paso 2: Monta el listón en la pared
-
Decide dónde quieres colgar tu alfombra. Usa tu cinta métrica y tu nivel para marcar una línea perfectamente recta en la pared donde estará la parte superior de la alfombra.
-
Sostén tu listón de madera contra la pared, alineado con tus marcas.
-
Taladra agujeros piloto a través del listón y en la pared.
-
Inserta los anclajes de pared en la pared y luego atornilla firmemente el listón de madera en su lugar.
Paso 3: Cuelga tu obra maestra
-
Para el método del velcro: Levanta con cuidado la alfombra y presiona la tira de velcro de la alfombra contra la tira correspondiente en el listón montado en la pared. Trabaja de un extremo al otro, asegurando una conexión segura en todo el ancho.
-
Para el método de la funda: Simplemente desliza el listón de madera de la pared a través de la funda de tela que cosiste en la parte trasera de la alfombra. La alfombra colgará perfectamente de este soporte oculto.
Conclusión: Eleva tu decoración
Colgar una alfombra es una elección de diseño transformadora que aporta una textura, un color y una personalidad inigualables a tus paredes. Ya sea que elijas una alfombra de 5x7 rectangular clásica, una juguetona alfombra redonda o una relajante alfombra verde, siguiendo estos sencillos pasos, podrás exhibir con confianza y seguridad el textil que elijas, convirtiéndolo de un simple revestimiento de suelo en una verdadera obra de arte.